


Introduction: Why Proper Hair System Removal Matters
Removing a hair system requires precision to avoid scalp irritation, hair damage, or damage to the system itself. Whether you’re a first-time user or a seasoned wearer, following the right steps ensures a safe, comfortable removal process. This guide breaks down the process, tools, and aftercare tips for a seamless experience.
1. Essential Tools & Preparations
Before starting, gather these items to facilitate a smooth removal:
Adhesive remover solution (specific to your adhesive type: water-based, solvent-based, or silicone)
Wide-tooth comb or soft-bristle brush
Cotton pads or balls
Warm water and mild shampoo
Moisturizing conditioner or scalp oil
Plastic wrap or shower cap (for stubborn adhesives)
Gloves (optional, to protect hands from chemicals)
Pro tip: Always check the hair system manufacturer’s recommendations for compatible removers to avoid material damage.
2. Step-by-Step Removal Process
Step 1: Soften the Adhesive
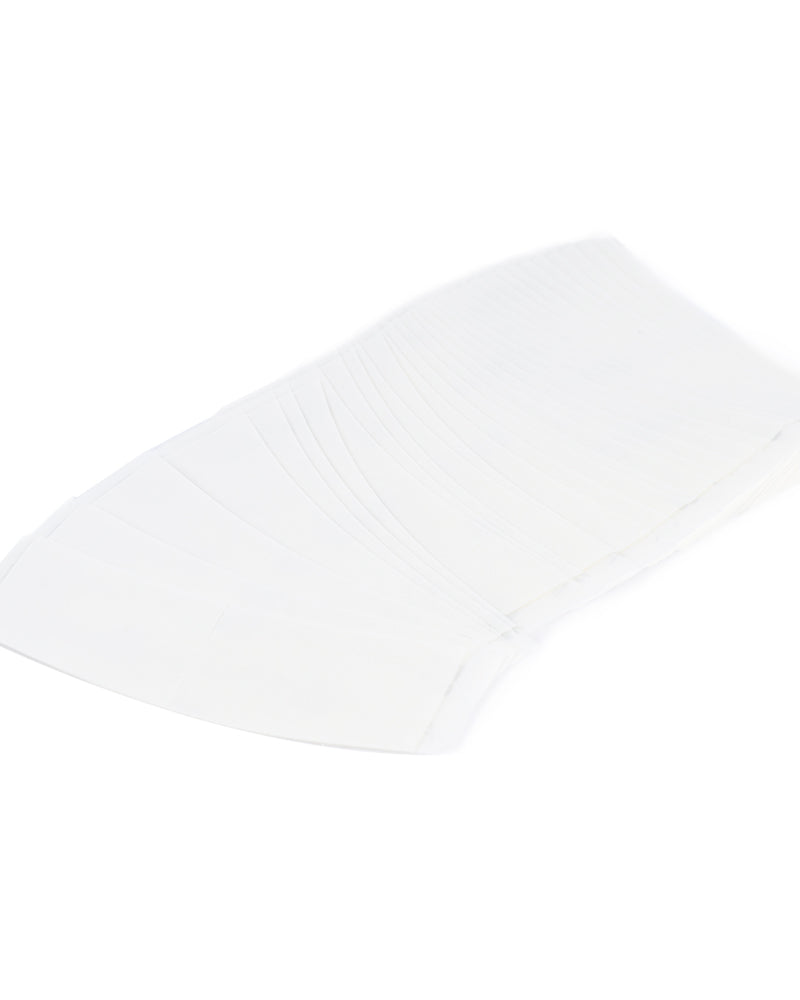
For tape adhesives: Apply remover along the edges of the hair system, focusing on where the tape contacts the scalp. Let it sit for 2–3 minutes to dissolve the adhesive.
For liquid or gel adhesives: Spray or dab remover onto the bond line, ensuring even coverage. Wait 5–10 minutes (or as directed by the product) to break down the adhesive.
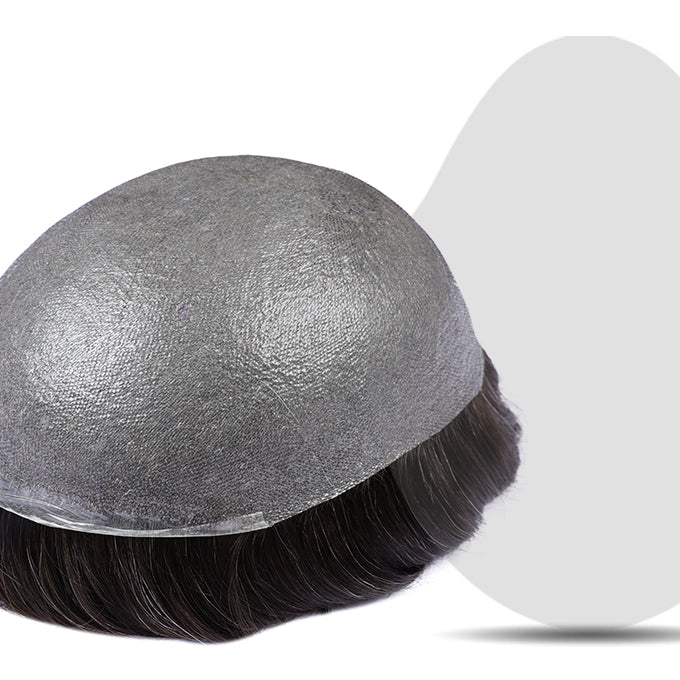
For silicone-based adhesives: Use a silicone-specific remover, which may require slightly longer contact time (10–15 minutes) to loosen the bond.
Step 2: Gently Lift the Edges
Using your fingertips or a plastic spoolie (avoid metal tools to prevent scalp scratches), start lifting the hair system from the front hairline or sides. Apply slow, upward pressure—never pull forcefully to avoid ripping hair or irritating the scalp.
If resistance is felt, apply more remover to the stuck area and wait another minute before trying again.
Step 3: Remove the System Completely
Continue working your way around the perimeter, releasing the adhesive section by section. If the system is large (e.g., a full scalp piece), enlist help to ensure even removal.
Once detached, place the hair system on a clean surface with the adhesive side up for cleaning.
Step 4: Cleanse Your Scalp
Use a cotton pad dipped in remover to wipe away any adhesive residue on the scalp. Rinse with warm water, then shampoo gently to remove excess product.
Apply a nourishing scalp oil or conditioner to soothe and hydrate the skin, especially if redness or dryness is present.
3. Caring for Your Hair System Post-Removal
Cleaning the System
Remove adhesive residue: Use a soft brush or cloth to wipe the base of the hair system with remover, then rinse with lukewarm water.
Shampoo and condition: Use a mild, sulfate-free shampoo designed for hair systems. Gently lather the base and hair, rinse thoroughly, and apply conditioner to maintain texture.
Dry and store: Pat dry with a towel, then place on a wig stand to air-dry. Avoid direct heat or sunlight, which can damage fibers.
Storage Tips
Keep the system in a cool, dry place away from dust. Use a protective net or box to prevent tangling.
4. Common Challenges & Solutions
|
Issue |
Solution |
|
Stubborn adhesive residue |
Apply remover, cover with plastic wrap for 10 minutes, then gently wipe away. |
|
Scalp irritation |
Avoid harsh chemicals; use a hypoallergenic remover. Apply aloe vera gel post-removal. |
|
Hair system tangling |
Comb gently with a wide-tooth comb before removal; detangle with conditioner after cleaning. |
5. Safety & Aftercare Tips
Avoid daily removal: If wearing a permanent hair system, follow your stylist’s recommended removal schedule (typically every 2–4 weeks).
Test removers first: Perform a patch test on a small area of the scalp to check for allergic reactions.
Hydrate the scalp: Regularly use moisturizing products to prevent dryness, especially if using solvent-based removers.
Conclusion
Mastering hair system removal is key to preserving both your natural hair health and the longevity of your hairpiece. By following these steps and prioritizing gentle care, you can ensure a stress-free process while maintaining the system’s quality. Remember: patience and the right tools are your greatest allies in this routine.
Have you tried these methods? Share your experience or ask questions in the comments below!
